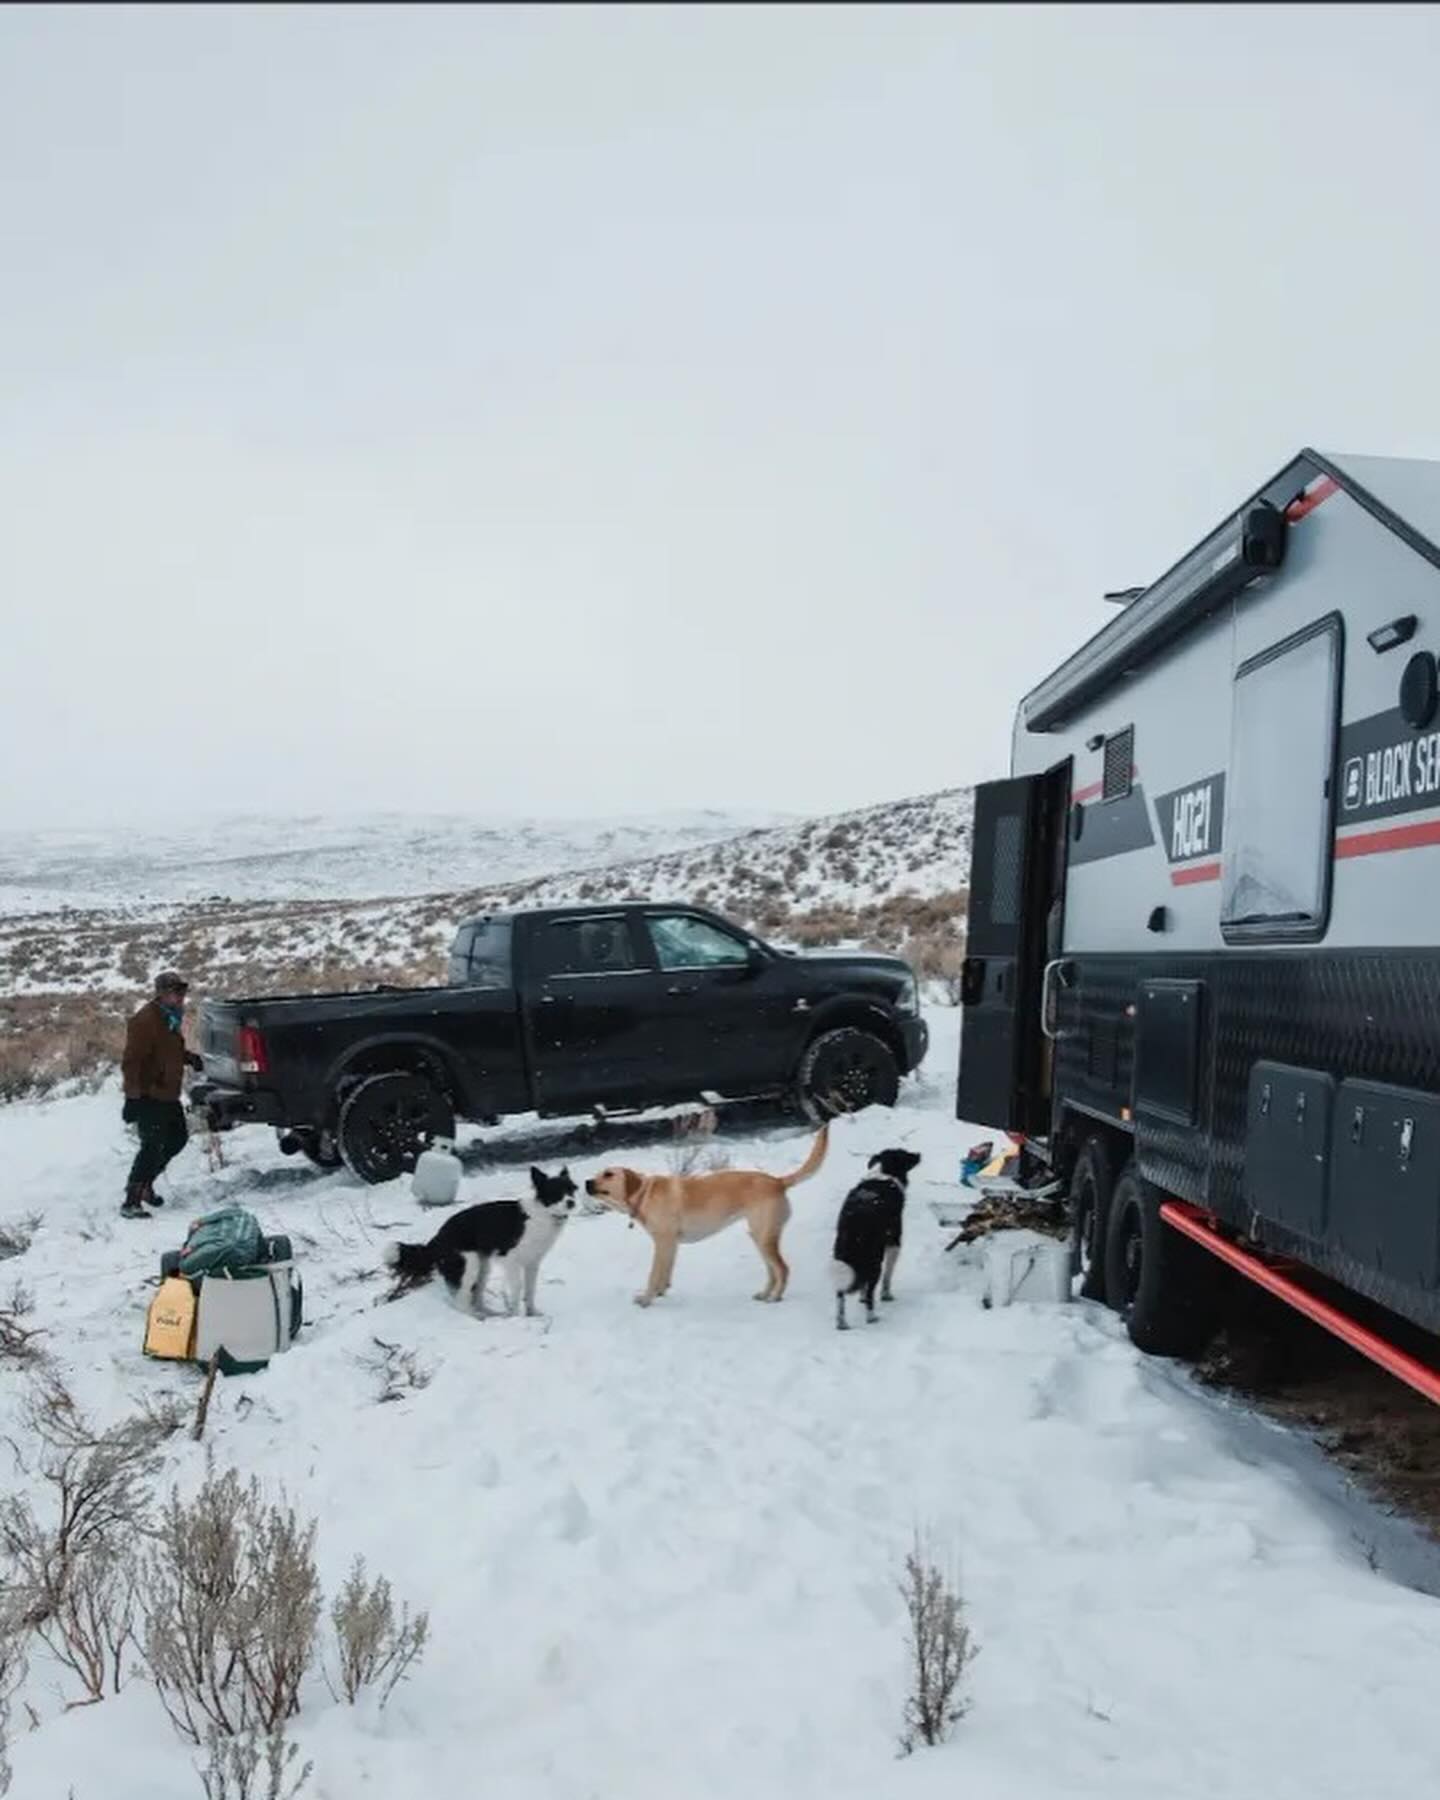
Winter RV adventures bring incredible experiences, but they also present unique challenges, especially when it comes to keeping your water systems functional in freezing temperatures. For RV enthusiasts who refuse to let cold weather limit their adventures, water hose heating tape represents one of the most cost-effective and reliable freeze protection solutions available.
Whether you’re planning extended winter camping trips or simply want to protect your investment during cold storage, understanding how to properly select, install, and maintain heating tape can save you from costly repairs and inconvenient water system failures.
Why RV Water Pipes Freeze So Easily
RV water systems face unique vulnerabilities that don’t affect traditional home plumbing. Unlike buried household pipes, RV water lines run through unheated compartments and are directly exposed to external temperatures through thin walls and floors.
Cold Air Impact on Exposed Lines
Your RV’s water hose represents the most vulnerable point in the entire system. Running along the ground or suspended between your RV and the water source, these hoses experience direct exposure to wind, snow, and sub-freezing air temperatures. Even a brief cold snap can cause water inside the hose to freeze solid within hours.
High-Risk Scenarios
The risk intensifies in several common situations:
- Overnight temperature drops in high-altitude camping areas
- Extended stays at campgrounds without heated hookup pedestals
- Boondocking adventures in northern climates during shoulder seasons
- Emergency situations where power systems fail during winter storms
When water freezes inside your hose, the expansion can cause permanent damage to fittings, create leaks throughout the system, and potentially damage your RV’s internal plumbing components. Repair costs often range from hundreds to thousands of dollars, making prevention the smart investment.
Understanding RV Water Hose Heating Tape
What Is Heating Tape?
Water hose heating tape consists of flexible electrical heating elements designed to wrap around or run alongside water pipes and hoses. These systems use low-voltage electrical current to generate consistent heat that prevents water from reaching freezing temperatures.
How It Works
Modern heating tapes utilize smart temperature-sensing technology. Built-in thermostats monitor the ambient temperature and automatically activate heating elements when temperatures approach freezing (typically around 38-43°F). Once temperatures rise above the threshold, the system automatically shuts off, preventing energy waste and overheating.
Advantages Over Traditional Solutions
Compared to drain-and-refill methods or bulky insulation sleeves, heating tape offers:
- Active protection rather than passive insulation
- Automatic operation requiring no manual intervention
- Precise temperature control preventing both freezing and overheating
- Compatibility with existing hose and fitting systems
Types of RV Water Hose Heating Tape
Power Compatibility Considerations
Choose heating tape that matches your available power sources:
- 120V AC systems work best with shore power or generator operation
- 12V DC options integrate with your RV’s battery system for off-grid use
- Dual-voltage models provide flexibility for different camping scenarios
Safety Certifications
Look for heating tape with proper safety certifications:
- UL Listed products meet North American safety standards
- CSA Certified options comply with Canadian requirements
- IP65 rated systems resist water and weather exposure

Selecting the Right Heating Tape for Your Setup
Hose Length and Diameter Calculations
Measure your typical water hose setup to determine heating tape requirements:
- Standard 25-foot hoses need approximately 25-30 feet of heating tape
- 50-foot extended setups require proportional tape length plus 10% safety margin
- Multiple hose connections may need junction-specific heating elements
Power Consumption Planning
Calculate your electrical load requirements:
- Typical heating tape consumes 3-8 watts per linear foot
- 50-foot installation draws approximately 150-400 watts
- Battery systems can typically support 8-12 hours of operation
- Generator runtime should account for heating tape among other electrical loads
Scenario-Based Recommendations
Choose your heating tape based on typical usage patterns:
Winter Campground Stays: Constant wattage tape with shore power connection provides reliable, maintenance-free operation.
Boondocking Adventures: Self-regulating 12V tape conserves battery power while providing essential freeze protection.
Cold Storage Protection: Timer-controlled systems activate only during predicted freeze events, minimizing energy consumption.
Step-by-Step Installation Guide
Preparation Phase
- Clean the hose surface thoroughly to ensure proper tape adhesion
- Inspect existing fittings for damage or wear that could affect performance
- Gather installation materials: heating tape, electrical tape, insulation wrap, and zip ties
Installation Process
- Begin at the water source connection, leaving 6 inches of tape lead for electrical connection
- Wrap the tape in a spiral pattern, maintaining consistent spacing (typically 1 wrap per foot)
- Avoid overlapping heating elements, which can create hot spots and damage
- Secure with electrical tape at regular intervals to prevent movement
- Connect power leads according to manufacturer specifications
- Test the system before adding insulation covering
Finishing Touches
Apply additional insulation over the heating tape installation to improve efficiency. Foam pipe insulation or reflective bubble wrap creates an effective thermal barrier while protecting the heating elements from physical damage.
Safety Installation Notes
- Never cross or overlap heating tape sections
- Maintain proper clearance from sharp edges or moving parts
- Use only outdoor-rated electrical connections
- Install GFCI protection for 120V systems
Top Heating Tape Recommendations
For Extreme Cold Performance
Self-regulating heating cables offer the best combination of safety and efficiency for severe weather conditions. These systems automatically adjust heat output based on ambient temperature, providing maximum protection when needed while conserving energy during milder conditions.
All-in-One Solutions
Complete heated hose kits eliminate guesswork by including properly matched heating elements, insulation, and connectors. While more expensive initially, these systems often provide better long-term reliability and easier installation.
Budget-Friendly Options
Constant wattage heating tape offers reliable freeze protection at lower initial cost. These systems work well for occasional winter use or supplementary protection in moderate climates.
For specific product recommendations compatible with BlackSeries RV systems, consult your dealer or visit our winter accessories guide.
Safety and Maintenance Best Practices
Electrical Load Management
Monitor your heating tape’s power consumption as part of your overall electrical system management. Use amp meters or power monitors to track usage and prevent overloading your RV’s electrical systems.
Regular Inspection Schedule
Perform monthly checks during winter use:
- Visual inspection of heating tape for damage or wear
- Electrical connection testing to ensure proper operation
- Insulation condition assessment for gaps or deterioration
Seasonal Storage
Properly store heating tape during off-season periods:
- Clean and dry all components before storage
- Coil loosely to prevent kinking or element damage
- Store in climate-controlled environment when possible
Complementary Freeze Protection
Combine heating tape with other winter protection strategies:
- Tank heaters for holding tank freeze protection
- Skirting systems to reduce undercarriage heat loss
- Faucet covers for additional fixture protection
Frequently Asked Questions
Is water hose heating tape safe to use?
Yes, when properly installed and certified products are used. Modern heating tapes include multiple safety features including automatic temperature control, GFCI protection, and weather-resistant construction. Always follow manufacturer installation guidelines and use appropriately rated electrical connections.
Can I use heating tape without electrical hookups?
12V heating tape systems can operate from your RV’s battery system, though runtime depends on battery capacity and other electrical loads. Consider solar charging or periodic generator operation to maintain battery levels during extended off-grid periods.
Will heating tape damage my water hose?
Properly installed heating tape will not damage quality water hoses. Self-regulating systems prevent overheating, while proper installation techniques ensure even heat distribution. Avoid bargain heating tapes that may lack temperature controls.
How does heating tape compare to insulated hose covers?
Heating tape provides active freeze protection by adding heat, while insulation only slows heat loss. In temperatures below 20°F, insulation alone often proves insufficient. Combining both methods provides optimal protection in extreme conditions.
What should I do if my heating tape stops working?
First, check electrical connections and circuit breakers. Test the tape with a multimeter for continuity. If the heating element has failed, replace the entire tape system rather than attempting repairs, as damaged heating elements can create safety hazards.
Winter RV adventures don’t have to end when temperatures drop. With proper heating tape selection, installation, and maintenance, your water systems can remain functional throughout the coldest conditions. Whether you’re planning extended winter stays or simply want reliable freeze protection, investing in quality heating tape pays dividends in convenience, safety, and peace of mind.
For more winter RV preparation tips and BlackSeries-specific accessories, explore our comprehensive winter camping resources.

