To grease trailer bearings properly, you need to remove the hub, clean the bearings entirely, hand-pack them with high-temperature wheel bearing grease, replace the grease seal, and reassemble with the correct preload. Proper bearing maintenance prevents catastrophic failures on the road and keeps your rig rolling smoothly for years.
Why “Just Adding Grease” Isn’t Enough
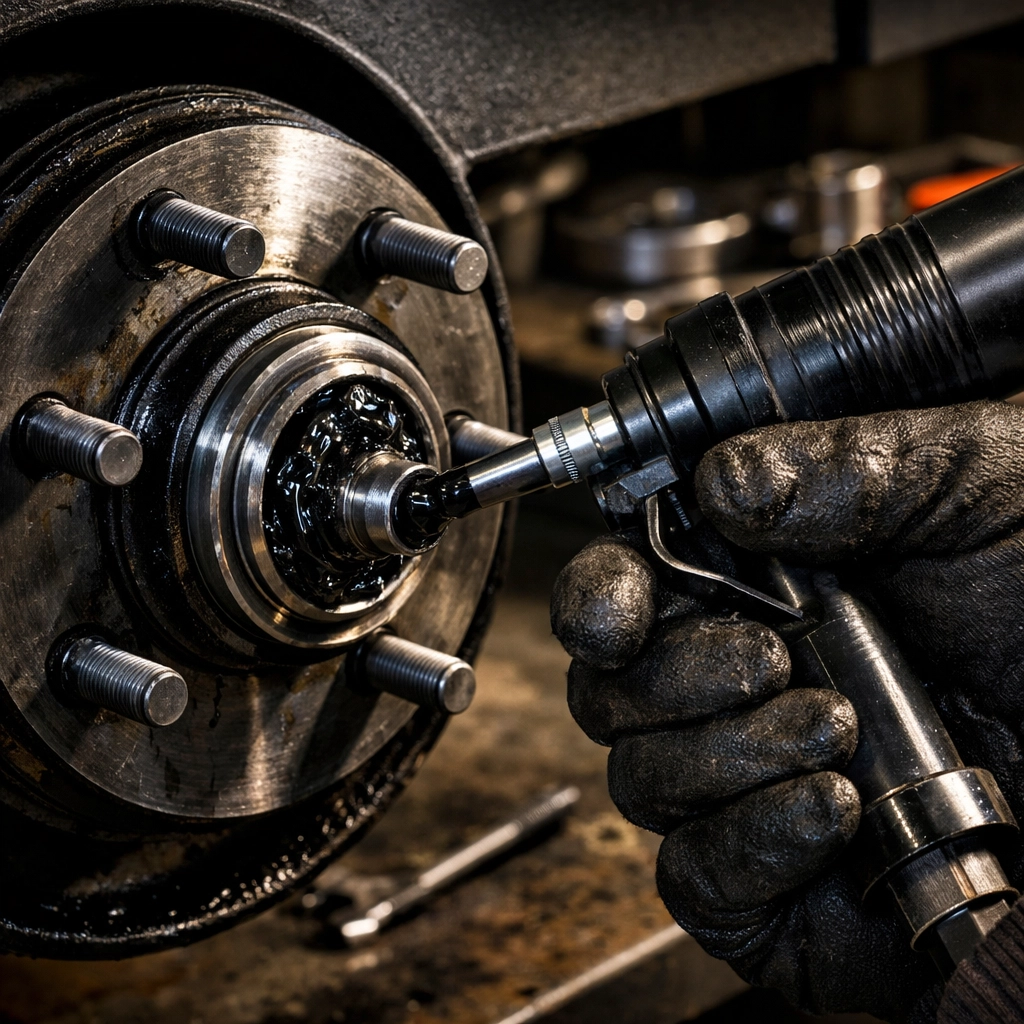
Here’s the truth: pumping fresh grease through a zerk fitting might make you feel like you’ve done your job, but it’s not real maintenance. For trailers carrying serious weight, whether you’re towing a compact 16 ft camper weight setup or hauling a beefy 30 foot rv weight rig, those bearings need more than a quick squirt.
The problem is that old grease doesn’t magically disappear when you add new grease. It stays there, breaks down from heat cycles, collects moisture, and eventually turns into a crusty barrier that blocks new grease from reaching the actual bearing surfaces. When you’re pulling thousands of pounds down the highway at 65 mph, “good enough” maintenance isn’t good enough.
Real bearing maintenance means getting your hands dirty. It means pulling the hub, inspecting every component, and ensuring those rollers are surrounded by clean, fresh grease, not just floating in a mix of old and new lubricant.
The Essential Tool Kit
Before you dive in, gather everything you need. There’s nothing worse than getting halfway through a bearing job and realizing you’re missing a critical part:
- Jack and jack stands: Never work under a trailer supported only by a jack. Safety first, always.
- High-temp wheel bearing grease: Look for NLGI Grade 2 grease rated for temperatures above 300°F.
- New grease seals: These are one-time-use components. Plan on replacing them every time you repack.
- Solvent: Mineral spirits or brake cleaner work great for removing old grease.
- Basic hand tools: Wrenches, pliers, screwdriver, and a rubber mallet.
- Torque wrench: Essential for setting proper bearing preload during reassembly.
- Shop rags and gloves: This job gets messy. Protect your hands and have plenty of clean towels ready.
Step-by-Step: The Right Way to Grease Trailer Bearings
Step 1: Safely Lift and Remove the Wheel
Park your trailer on level ground and chock the wheels you’re not working on. Use your jack to lift the corner until the wheel is off the ground, then secure it with jack stands. Remove the lug nuts and pull the wheel off.
This is also a good time to check your tire pressure and inspect for any unusual wear patterns that might indicate alignment issues.
Step 2: Remove the Hub and Clean Everything
Pull off the dust cap, sometimes these are stubborn, so a gentle tap with a screwdriver and hammer usually does the trick. Remove the cotter pin with pliers, then unscrew the castle nut. Slide the hub toward you slightly to extract the outer bearing and washer.
Now pull the hub completely off the spindle. Flip it over and remove the inner bearing and grease seal. The seal will need to be replaced, so don’t worry about destroying it during removal.
Here’s where the real work begins: clean every single surface. Use solvent to wash away all the old grease from both bearings, the inside of the hub, and the spindle itself. You want to see bare, shiny metal. This step is critical, any contamination left behind will compromise your new grease.

Step 3: The Hand-Pack Technique
This is the “secret sauce” that many people skip, and it makes all the difference. Place a generous dollop of grease in the palm of your non-dominant hand. Take the bearing and press the wide, tapered edge into the grease with a scooping motion. Push down firmly until grease squirts out the top between the rollers.
Rotate the bearing a quarter turn and repeat. Keep going until grease emerges from all sides. This ensures every roller is completely surrounded by lubricant, not just sitting next to it.
Yes, you can use a bearing packer tool if you have one, but the hand method gives you a tactile sense of when the bearing is truly saturated. For trailers dealing with the average travel trailer weights or heavier, this thoroughness matters.
Step 4: Install the New Grease Seal
Never reuse an old seal. Ever. These are designed for one-time use, and even if the old one looks fine, its sealing lip is already formed to the spindle. A new seal costs a few bucks; a failed bearing on the highway costs thousands.
Apply a thin coating of grease to the seal lip, then carefully tap it into place using a seal driver or a socket that matches the seal’s outer diameter. It should sit flush and square in the hub.
Step 5: Reassemble and Set Bearing Preload
Pack the inner bearing and slide it into the hub. Flip the hub over and carefully slide it back onto the spindle, being careful not to damage your new seal. Install the outer bearing and washer.
Here’s the critical part: setting the preload. Thread the castle nut on by hand, then tighten it while rotating the hub. Torque it to about 50 ft-lbs while spinning the wheel to seat the bearings. Back the nut off completely, then hand-tighten it again until snug. Back it off just enough to align the castle nut slots with the spindle hole, insert a new cotter pin, and bend the ends.
The wheel should spin freely with just a tiny bit of play: about 0.001 to 0.005 inches of end play. Too tight and you’ll generate excessive heat; too loose and you’ll get dangerous wobble.
Install the dust cap and wheel, then torque the lug nuts to spec. Lower the trailer and you’re done.
Choosing the Best Grease for Travel Trailers
Not all grease is created equal. For trailers: especially those hauling a 24 ft camper weight or larger: you need high-temperature wheel bearing grease rated for severe duty. Look for:
- NLGI Grade 2 consistency: This is the standard for wheel bearings: thick enough to stay in place but pumpable enough to work through the bearing.
- High dropping point: Above 400°F minimum. Bearings can get incredibly hot, especially during long descents or when running near the trailer’s GVWR.
- Water resistance: Essential for boat trailers and off-road rigs that might encounter water crossings.
- Lithium complex or synthetic base: These offer superior performance compared to basic lithium greases.
Avoid mixing grease types. If you’re not sure what was used previously, clean everything down to bare metal and start fresh with your chosen grease.
Common Mistakes to Avoid
The EZ-Lube Trap: Those grease fittings on some trailer hubs are convenient for topping off between full repacks, but they’re not a replacement for proper maintenance. You can’t clean out old grease or inspect for damage without pulling the hub.
Reusing Seals: A $5 seal protects a $500 bearing and hub assembly. New seals every time, no exceptions.
Wrong Grease Selection: Marine grease, chassis grease, and wheel bearing grease are different products. Using the wrong type can lead to premature failure, especially on heavier trailers approaching the 30-foot camper weight class.
Over-Greasing: More is not better. Excess grease can blow past the seal and contaminate your brakes, leading to reduced stopping power right when you need it most.
Ignoring Inspection: If you see pitting, discoloration, or scoring on the bearings or races, they need replacement. Packing damaged bearings with fresh grease just delays the inevitable failure.
BlackSeries Off-Road Reality
Our trailers are built for places most rigs can’t reach. When you’re hauling an 18 ft camper weight or 30 ft rv weight BlackSeries model through washboard desert trails, crossing shallow streams, and camping in places that test every component, your bearings work harder than they would on smooth pavement.
Dust infiltration is the biggest enemy of off-road bearing longevity. Even with good seals, fine dust particles can work their way into the grease, acting like grinding compound that accelerates wear. That’s why we recommend a more conservative maintenance schedule for our customers: annual repacking regardless of mileage, and immediate inspection after any water crossing or particularly dusty adventure.
The good news? Proper bearing maintenance is one of the most cost-effective insurance policies you can buy for your off-road travel trailer. An hour of work and $30 in parts can prevent a roadside failure that ruins your trip.
Bearing Maintenance Safety Checklist
Before your next big trip, run through this quick checklist:
✔ Load Check: Are you within your trailer’s GVWR? Extra weight means extra bearing stress.
✔ Service History: When was the last full repack? If you’re not sure, assume it’s overdue.
✔ Post-Trip Inspection: After any long haul, especially in mountains or extreme heat, touch the hub center (carefully: it might be hot). It should be warm but not burning.
✔ Listen for Warning Signs: Humming, grinding, or clicking noises from the wheel area are red flags.
✔ Grease Condition: If you see grease seeping from the hub that looks black or contaminated, schedule a repack immediately.
FAQ: Trailer Bearing Greasing
How often should I grease my trailer bearings?
At minimum, once per year or every 12,000 miles, whichever comes first. If you’re towing in severe conditions: off-road, through water, or regularly hauling at maximum GVWR: every 6 months or 6,000 miles is better.
Can I just add grease through the zerk fitting without removing the hub?
You can top off between full services, but this doesn’t replace proper maintenance. You need to remove the hub annually to inspect components and ensure old grease isn’t contaminating the new.
What grease is best for heavy travel trailers?
High-temperature wheel bearing grease with a NLGI Grade 2 rating and a dropping point above 400°F. For trailers in the 30 ft camper weight range or those used off-road, synthetic grease offers even better protection.
How do I know if I over-greased my bearings?
If grease appears on your brake drums or discs after reassembly, you’ve packed too much or the seal isn’t seated properly. Clean the brakes thoroughly and verify seal installation.
Should new travel trailers have bearings greased before first use?
Yes. Factory grease might be minimal or designed for short-term protection during shipping and storage. Repack before your first major trip, especially if the trailer has been sitting on the dealer lot for months.
What’s the difference between boat trailer bearings and RV bearings?
The bearings themselves are similar, but boat trailer bearings face more water exposure. If you occasionally launch your RV at beaches or cross streams, use marine-grade grease for extra water resistance.

