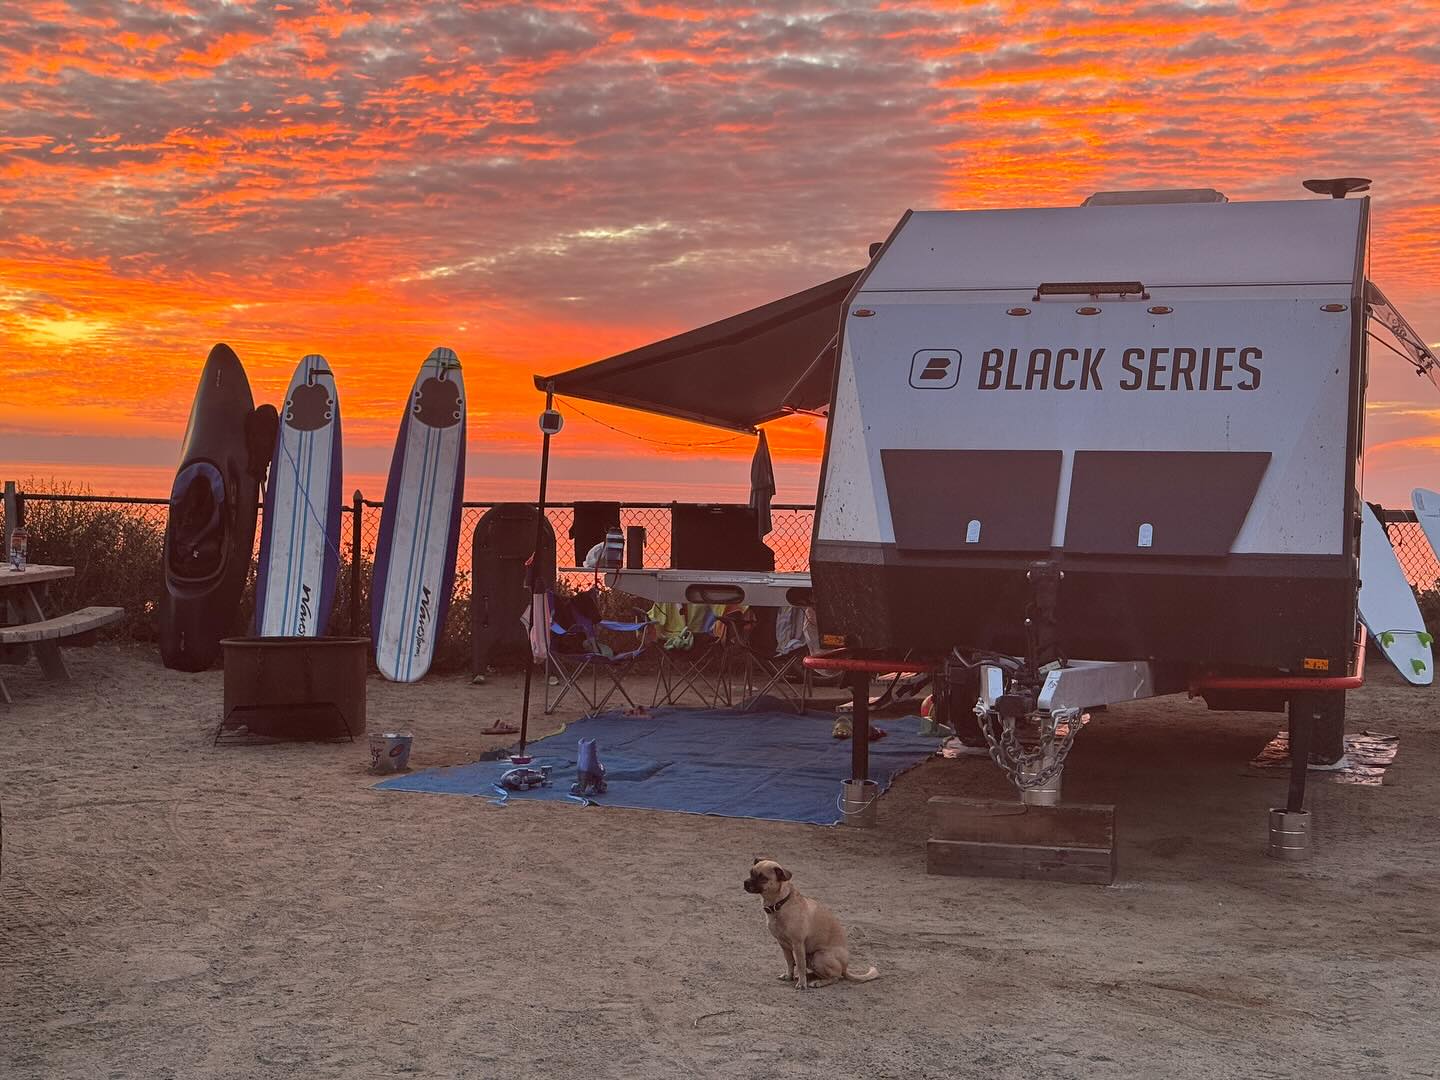
Your awning is your best friend when the sun is beating down on an off-grid campsite. But between tree sap, bird droppings, and desert dust, it can take a beating. At BlackSeries, we build our off-road travel trailers to last, and that includes the high-quality fabric on our awnings. Whether you’re rocking a compact 16 ft camper weight setup or commanding a massive 30 foot rv weight beast, that shade canopy works overtime to keep you comfortable. And like any hardworking piece of gear, it needs regular maintenance to stay in fighting shape.
Think about it: your awning is basically a giant, horizontal sail that catches everything the environment throws at it. Rain, pollen, dust storms, pine needles, and the occasional wayward bird, all of it accumulates on that fabric. Left unchecked, these contaminants don’t just make your rig look neglected; they actively degrade the waterproofing and UV protection that keeps your awning functional. This isn’t just about aesthetics; it’s about protecting a component that can cost hundreds or even thousands to replace.
Why a Clean Awning is a Happy Awning
A clean awning doesn’t just look better; it lasts longer. Dirt and mold can eat away at the waterproofing and the fabric itself. Whether you have a compact 16 ft camper weight setup or a massive 30 foot rv weight rig, keeping that fabric fresh is key to maintaining your RV’s resale value. Let’s break down what you’re fighting:
Dirt and Dust: The silent killers. Over time, particulate matter grinds into the fabric’s weave, breaking down the protective coatings and creating micro-abrasions that weaken the material.
Mold and Mildew: These fungi aren’t just ugly, they’re corrosive. They produce enzymes that literally digest organic materials, including the compounds that make your awning waterproof. Plus, once mold takes hold, it spreads fast, especially in humid environments or if you store your awning wet (spoiler: never do this).
Tree Sap and Bird Droppings: Both are acidic and can permanently stain or discolor your fabric if left to bake in the sun. Sap is particularly sticky and attracts additional dirt, creating a compounding problem.
UV Damage: While not a “cleaning” issue per se, accumulated grime accelerates UV degradation by preventing the fabric’s protective coating from doing its job.
On an average travel trailer weight setup, say around the 24 ft camper weight range, you’re looking at 12 to 16 feet of awning fabric. That’s a lot of surface area to protect. Regular cleaning extends the lifespan of this investment by years, not months.
Common Awning Ailments (And How to Spot Them Early)
Dust is the enemy in the desert, while mold is the villain in the forest. We’ll discuss how to spot these early before they become permanent stains on your 24 ft camper weight trailer’s canopy.
Desert Dust: If you’ve ever spent time in the Southwest, you know that fine, reddish-brown powder gets everywhere. It’s particularly insidious because it’s so fine that it embeds itself deep into the fabric weave. Early signs include a dull, chalky appearance on your awning and a gritty texture when you run your hand across it.
Forest Mold: Green or black spots that appear after camping in humid, wooded areas. The key is catching it early, if you see discoloration after a trip, address it immediately before it spreads.
Water Stains: Ironically, water itself can leave marks, especially if you’re in an area with hard water or mineral-rich rain. These appear as streaky, whitish lines running down the fabric.
Mechanical Wear: While not a fabric issue, check the roller tube and arms for dirt buildup. Sand and grit can damage the retraction mechanism, leading to uneven rolling and fabric stress.

The Step-by-Step Deep Clean (The Right Way)
Here’s the definitive process that balances effectiveness with fabric safety. This method works whether you’re maintaining a sleek 18 ft camper weight trailer or a family-hauling 30-foot camper weight expedition rig.
Step 1: Prep Work (Don’t Skip This)
Extend the awning fully. You need access to the entire surface, and a fully extended awning lets you spot problem areas you’d otherwise miss. Use a dry, soft-bristled brush (think car wash brush, not scrub brush) to remove loose debris. Work from the RV side outward to avoid pushing dirt into the roller mechanism.
Step 2: The Initial Rinse
Use a regular garden hose, not a pressure washer, to give the awning a thorough rinse. Start at the top and work down, allowing gravity to carry debris away. This step removes about 60% of surface contamination and makes your cleaning solution more effective. Pay special attention to bird droppings and tree sap; pre-soaking these makes them easier to remove later.
Step 3: Mix Your Cleaning Solution
Here’s where people get it wrong. The best cleaner is also the simplest: mild dish soap and water. Mix about 1/4 cup of dish soap per 5-gallon bucket of warm water. Warm water improves cleaning action, though cold works fine if that’s what’s available.
Critical Note: Use a soap that’s free from degreasers or citrus additives. These are too harsh for awning fabric and will strip the waterproof coating. Plain, gentle dish soap, the kind you’d use on fine glassware, is perfect.
Step 4: The Scrub (Gentle is the Keyword)
Using your soft brush or a large sponge, apply the soapy mixture liberally to both the top and underside of the awning. Yes, both sides. The underside often harbors mold because it stays damp longer. Work in sections, and don’t be afraid to be generous with the solution. The soap needs time to break down dirt and oils.
Step 5: Let It Soak
This is the secret step most people skip. After applying the solution, partially or completely retract the awning and wait 5 to 20 minutes. This allows the soap to penetrate both sides of the fabric simultaneously, loosening stubborn grime. For light cleaning, 5 minutes is plenty. For heavy contamination or mold, wait the full 20.
Step 6: Tackle Mold and Mildew
If you spotted mold during your prep, now’s the time to address it. White vinegar is your weapon of choice: it kills mold without damaging fabric. Using a spray bottle, apply undiluted white vinegar directly to affected areas. Let it sit for 10 minutes, then wipe with a clean cloth. The vinegar smell dissipates as it dries, and it’s safe for both vinyl and acrylic awning materials.
For particularly stubborn mold, you can use a heavily diluted bleach solution (1/4 cup bleach per 5 gallons of water), but test it on an inconspicuous area first. Bleach is effective but risky: too strong, and you’ll discolor the fabric permanently.
Step 7: The Thorough Rinse
Extend the awning again and rinse completely with your garden hose. This step is critical: leftover soap residue attracts dirt and can cause streaking. Start at the top and work down, ensuring water runs clear. Flip the awning (if your mechanism allows) or retract and extend several times to ensure you’ve rinsed both surfaces thoroughly.
Step 8: The Most Important Step: DRY
Never, ever retract a wet awning. It’s the number one way to start a mold farm. Leave the awning fully extended until it’s completely dry, preferably in a shaded area if possible (full sun can be harsh on some fabrics while they’re still damp). Depending on weather conditions, this can take 2-6 hours. If you’re breaking camp and need to move, consider drying it at your next stop or even using a soft towel to blot excess moisture before careful retraction.
Maintenance Between Deep Cleans
Regular inspections are vital. We recommend a quick visual check before and after every trip, and a light rinse monthly if you’re using your rig regularly. Once or twice per camping season, apply a fabric protectant like 303 Aerospace Protectant to acrylic awnings. This restores water resistance and provides UV protection. Skip this step for vinyl awnings: they’re already waterproof and the treatment won’t adhere properly.
Storage Tip: If you’re parking your trailer for the off-season, clean the awning thoroughly before storage. Storing a dirty awning is like putting away a dirty tent: you’re basically cultivating a science experiment for next spring.
What to Avoid (Seriously, Don’t Do These Things)
No Bleach (Except in Emergency): Undiluted or improperly diluted bleach will destroy your awning. If you must use it for severe mold, follow the 1/4 cup per 5 gallons rule religiously.
No Abrasive Brushes: Stiff-bristled brushes will fray the fabric and create permanent damage. Soft brushes only.
No Pressure Washers: That 3000 PSI might seem efficient, but it’ll rip stitching, tear fabric, and force water into areas it shouldn’t go. Hand-powered hose spray is plenty.
No Harsh Chemicals: Skip the petroleum-based cleaners, solvent-based stain removers, and anything containing ammonia. These will strip the UV and waterproof coatings that keep your awning functional.
No Dish Soap with Degreasers: Check the label. If it says “cuts through grease” or has citrus extracts, it’s too aggressive for your awning.
BlackSeries-Specific Tips (Built Tough, But Not Invincible)
Our trailers are designed for rugged environments, and our awnings are no different. Whether you’re running an HQ12, HQ15, or one of our larger HQ17 or HQ19 models, here’s what you need to know:
Off-Road Vibrations: BlackSeries rigs see trails that would make most RVs cry. After a particularly rough trip, check the roller tube and support arms for dust and debris. A buildup here can affect smooth operation and create pressure points that wear the fabric unevenly.
Desert Deployments: If you’ve been four-wheeling through sandy terrain, your awning mechanism has likely ingested fine particulate. Before extending the awning after a dusty adventure, use compressed air or a soft brush to clear the roller housing. This prevents grinding and extends mechanism life.
Quick-Deploy Features: Many BlackSeries awnings have rapid-deployment mechanisms. Keep these pivot points clean and lightly lubricated (dry silicone spray works great). A sticky mechanism tempts you to force it, which can damage the fabric mounting points.
Weight Considerations: Even on our average weight of camper models, a wet, dirty awning adds unnecessary pounds. For those counting every ounce for payload calculations on a 30 ft camper weight or 30 ft rv weight setup, keeping the awning clean and dry matters for weight distribution.
Real-World Advice from the Trail
We’ve heard from countless BlackSeries owners who’ve learned these lessons the hard way. One HQ19 owner in Arizona told us they went a full season without cleaning their awning in the desert. By the time they addressed it, the dust had bonded so thoroughly that they needed three cleaning cycles to restore it. Another owner in the Pacific Northwest skipped the drying step once: just once: and ended up with a mold problem that required professional treatment.
The good news? Every owner who’s implemented a regular cleaning schedule reports the same thing: it’s way easier to maintain than to rehabilitate. A quick 20-minute cleaning every month or two beats a 4-hour restoration project every year.
FAQ: Your Awning Questions Answered
How often should I clean my camper awning?
For regular users, a light cleaning every 4-6 weeks and a deep clean twice per camping season (spring and fall) is ideal. If you’re in particularly dusty or moldy environments, bump that to monthly deep cleans.
Can I use regular household cleaners to clean my awning fabric?
Most are too harsh. Stick with plain, gentle dish soap (Dawn Free & Clear is a favorite) or specialized RV fabric cleaners. Avoid anything with bleach, ammonia, or degreasers unless specifically formulated for awning use.
How do I remove tough mold or mildew stains from my camper awning?
White vinegar is your first line of defense: spray it full-strength on mold, wait 10 minutes, and wipe. For stubborn cases, use a heavily diluted bleach solution (1/4 cup per 5 gallons) but test on a hidden area first. Some dark stains may be permanent if the mold has been there long enough.
What’s the best way to protect my awning from future dirt and mildew buildup?
Apply a fabric protectant like 303 Aerospace Protectant annually (for acrylic awnings only). Always dry your awning completely before retracting. Store in a dry location, and if possible, keep it retracted during heavy wind or when parked under trees for extended periods.
Is there a way to prevent fading on my awning fabric from sun exposure?
UV damage is inevitable over time, but you can slow it dramatically. Use fabric protectants with UV inhibitors, retract the awning when you’re not actively using it, and park in partial shade when possible. BlackSeries awnings use UV-resistant materials, but even these benefit from smart use habits.
Wrap-Up: Shade Today, Adventure Tomorrow
Take care of your shade, and it’ll take care of you. A clean awning isn’t just about looking good at the campground (though that’s a nice bonus): it’s about protecting a critical component of your mobile lifestyle. Whether you’re pulling a nimble 16 ft camper weight trail rig or a full-featured 30-foot camper weight family hauler, the principles remain the same: clean regularly, dry thoroughly, and address problems early.
Ready for an upgrade or curious about our latest innovations? Check out our HQ series with integrated, easy-to-clean awning systems designed for the off-grid adventures you crave. BlackSeries builds trailers for people who don’t just camp: they explore. And every great exploration starts with gear you can trust.
Now get out there, enjoy that shade, and remember: a clean awning is a happy camper’s best friend. 🚐☀️

