Winter is coming, and while your BlackSeries is built to handle the rough stuff, even the toughest off-road travel trailer needs a little winter TLC. If you’re storing your rig for the season or planning a cold-weather adventure, winterizing your water system is the difference between a spring trip and a spring repair bill.
Whether you’re managing the average weight of camper plumbing in a nimble 16-footer or dealing with the larger tanks of a 30 foot rv weight family hauler, protecting your water lines from freeze damage is non-negotiable. One night of sub-freezing temps can turn your dream rig into an expensive repair project. Let’s make sure that doesn’t happen.
Why Winterizing Your Water System Matters
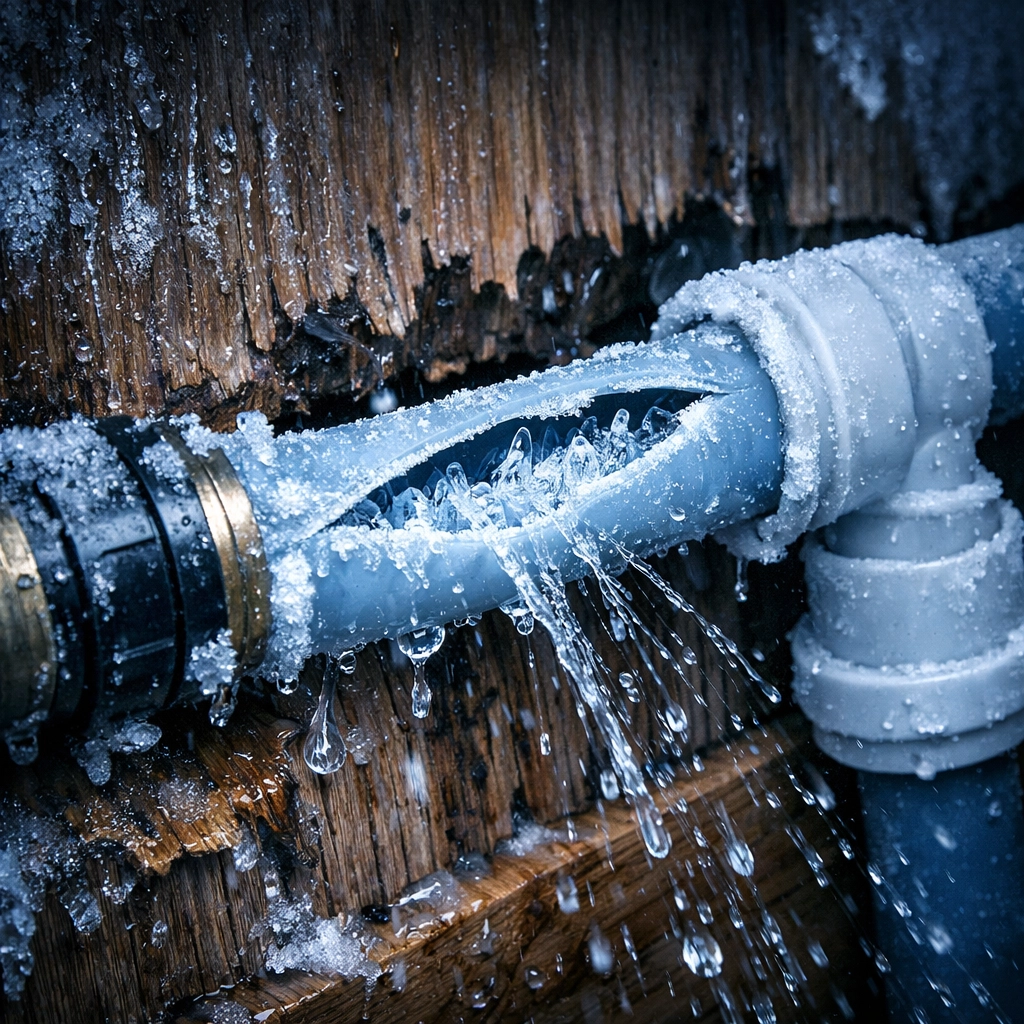
When water freezes, it expands with about 9% more volume, and that force is enough to crack brass fittings, split PEX lines, and shatter plastic valves. We’re talking about pressures exceeding 25,000 PSI in a confined space. Your water heater, pump housing, and even your toilet can become casualties of a single hard freeze.
The Real Cost of Skipping This Step
Burst pipes aren’t just inconvenient, they’re expensive. A cracked water heater can run $800-$1,200 to replace. Add in labor, new fittings, and potential interior water damage, and you’re looking at repair bills that can easily hit $3,000 or more. Whether you’re towing a compact 16 ft camper weight setup or a full-sized 30-foot camper weight family rig, the cost of winterization ($50-$100 in materials) is a fraction of the risk.
Protecting Your Investment
Beyond immediate repairs, freeze damage affects resale value. Prospective buyers will inspect your plumbing carefully, and evidence of previous freeze damage (even if repaired) is a red flag. Proper winterization preserves both the function and value of your trailer, regardless of whether you’re hauling an 18 ft camper weight weekend warrior or a 24 ft camper weight extended-stay setup.
Understanding Your BlackSeries Water System
Before we dive into the process, let’s talk about what you’re actually protecting. Your travel trailer has three distinct water systems, each requiring attention during winterization.
The Three Water Systems
Fresh Water System: This includes your potable water tank (typically 30-50 gallons depending on your model), the water pump, all supply lines, and every faucet in your rig. The pump pressurizes water from the tank or city hookup to deliver it throughout your trailer.
Hot Water System: Your water heater (usually 6-10 gallons) connects to the fresh water supply and heats water for showers, sinks, and washing. This tank has its own drain and typically requires bypassing during winterization.
Waste Water Systems: Your gray tank collects water from sinks and showers, while the black tank handles toilet waste. Both need to be completely emptied and flushed before winter storage.
Size Matters for Winterization Time
The average travel trailer weights directly correlate to system capacity. A 30 ft camper weight rig might have 50-gallon fresh tanks and dual gray tanks, meaning more drains to open and more time spent purging the system. A compact 16 ft camper weight trailer typically features smaller 20-30 gallon tanks and fewer plumbing fixtures, making the process faster but no less critical.
The 5-Step Winterization Playbook
Here’s the no-nonsense process that’ll keep your plumbing intact through the coldest months. Budget about 2-3 hours for your first winterization, you’ll get faster with practice.
Step 1: Drain Everything (The Foundation of Winterization)
Start by completely emptying all three tank systems. Drive to a proper dump station and empty your black and gray tanks completely. Use your tank flush system if you have one, running fresh water through until it comes out clear.
Back at your storage location or driveway, turn off your water pump and water heater. Open the water heater drain plug (usually on the exterior, near the bottom of the heater) and let it drain completely, this is 6-10 gallons that you don’t want to fill with antifreeze.
Next, drain your fresh water tank using the drain valve, typically located underneath near the tank itself. Now comes the important part: low-point drains. These are the lowest points in your plumbing system, usually located under the trailer near the water heater. You’ll have separate drains for hot and cold lines, open both and let gravity do its work.
Pro tip: A 24 ft camper weight trailer with extensive plumbing can hold 2-3 gallons of “residual” water in the lines even after you think everything’s drained. Give it time and open every faucet to help push water toward those low-point drains.
Step 2: Bypass the Water Heater

This step is crucial and saves you money. Your water heater doesn’t need antifreeze inside it, the tank itself is empty and the bypass valve redirects antifreeze around it instead of through it.
Locate your water heater bypass valve (check your owner’s manual for the exact location, but it’s typically near the water heater itself, either inside a cabinet or in an exterior compartment). Most BlackSeries models use a three-valve bypass system:
- Turn the two inlet/outlet valves to the “closed” position
- Turn the bypass valve to “open”
This configuration routes antifreeze through your plumbing but not into the heater tank. Without this step, you’d waste 6-10 gallons of antifreeze (at $10-15 per gallon) filling a tank that doesn’t need it.
Step 3: The Pink Stuff (RV Antifreeze Application)
This is where the magic happens. You’ll need 2-3 gallons of RV-specific antifreeze (propylene glycol, usually pink, rated to -50°F). Never use automotive antifreeze, it’s toxic and will contaminate your fresh water system.
Using a Water Pump Converter Kit: This $10-15 kit attaches to your water pump inlet. Place the pickup tube into a jug of antifreeze, then turn on your water pump. Starting with the closest faucet to your pump, open the cold side until you see pink antifreeze flowing. Then do the hot side. Repeat this process for every faucet in your trailer, kitchen, bathroom, outdoor shower, everything.
Don’t forget the toilet! Flush it until you see pink in the bowl. Pour about a cup of antifreeze down each P-trap (the drain under your sinks) to protect those as well.
The City Water Inlet: Remove the screen from your exterior city water connection, press the check valve inside with a small screwdriver, and you’ll see antifreeze flow out when the system is pressurized. This ensures that valve is protected too.
Step 4: The Pump and P-Traps
Your water pump itself needs protection. Once you’ve run antifreeze through the entire system, turn off the pump and disconnect the converter kit. Most pumps will retain some antifreeze in their housing, which is exactly what you want.
Pour a half cup of antifreeze down every drain in your trailer, kitchen sink, bathroom sink, shower drain. This protects the P-traps (those curved pipes under drains) which can hold residual water. Pour another cup into your toilet bowl to protect the valve seal.
Step 5: Seal Entry Points
Close all faucets once antifreeze has flowed through them. Check your exterior water inlet, replace the screen and cap. If you have an exterior shower or wash station, make sure those valves are closed and protected.
Consider using vent covers on your roof vents to prevent cold air infiltration. While not directly related to plumbing, keeping your interior warmer helps protect the entire system.
BlackSeries-Specific Winterization Advantages
Our trailers aren’t built like everyone else’s, and that gives you some real advantages when it comes to cold-weather prep.
Heated and Insulated Underbellies
Many BlackSeries models feature fully enclosed, insulated underbellies, some even include heating elements. This means your plumbing is already protected from ambient cold, giving you extra insurance even if a bit of water remains in the lines. The 30 ft rv weight models in our HQ Series feature upgraded insulation packages that make them significantly more freeze-resistant than comparably sized trailers.
High Ground Clearance = Easy Access
Unlike low-slung conventional trailers, our off-road travel trailer designs sit higher off the ground. That means accessing low-point drains, water heater drain plugs, and underbelly plumbing is actually manageable without crawling on frozen ground. You’ll appreciate this when it’s 30°F and you’re trying to open drain valves.
Solar-Powered Water Systems
If your BlackSeries includes solar-heated water or solar-powered pumps, you’ll want to drain these systems completely as well. Disconnect any solar thermal lines and ensure the solar water heating tank (if equipped) is drained and bypassed similar to your propane water heater. The good news? Our solar systems are designed with drain valves specifically for this purpose.
Common Winterization Mistakes That’ll Cost You
Let’s talk about what NOT to do, because these mistakes happen every winter, and they’re expensive.
Mistake #1: Using Automotive Antifreeze
This one’s a health hazard. Automotive antifreeze (ethylene glycol) is toxic and should never contact your potable water system. RV antifreeze (propylene glycol) is non-toxic and specifically formulated for drinking water systems. They’re not interchangeable. Don’t learn this the hard way.
Mistake #2: Skipping the Water Pump
Your water pump housing can hold 1-2 cups of water even after you think everything’s drained. If this freezes, the plastic housing will crack and you’ll need a new pump ($150-300 plus labor). Always run antifreeze through your pump using the converter kit method.
Mistake #3: Ignoring the Black Tank
Yes, it’s gross, but your black tank needs attention too. Any water left in that tank, or in the toilet valve, can freeze and cause serious damage. Always dump, flush, and then add a cup of antifreeze down the toilet to protect the flush valve. Some folks add a gallon of antifreeze directly into the empty black tank for extra insurance.
Mistake #4: Only Doing a “Partial” Winterization
You can’t half-ass this process. Either winterize completely or don’t bother. Protecting “most” of your plumbing but leaving one section vulnerable is like locking all your doors except one, it defeats the entire purpose.
Timing Your Winterization: When Is It Actually Necessary?
The rule of thumb is simple: if temperatures will drop below 32°F (0°C) for more than a few hours, it’s time to winterize. But let’s get more specific about different scenarios.
Long-Term Storage (Not Using the Trailer)
If you’re storing your trailer for the winter, whether it’s a 16 ft camper weight weekender or a 30-foot camper weight full-timer, winterize as soon as overnight temperatures consistently hit freezing in your area. For most of the northern U.S., that’s mid-October through November.
Winter Camping (Active Use)
If you’re actively camping in winter conditions, you don’t need to fully winterize, but you do need to protect your plumbing. Keep your underbelly heated (if equipped), use heat tape on exposed lines, and consider running a small amount of water periodically to prevent freeze-ups in the lines. When temperatures drop below 20°F, even heated systems can struggle.
Shoulder Season Uncertainty
If you’re in that shoulder season where it might freeze tonight but be 60°F tomorrow, you have options. You can do a “quick” winterization by draining tanks and adding antifreeze to P-traps without doing the full pump-through. Or, if you’re hooked to power, use space heaters to keep the interior above freezing. Just remember: one unexpected hard freeze can cause thousands in damage, so err on the side of caution.
The “Average Travel Trailer Weights” Factor
Larger trailers retain heat better due to thermal mass, but they also have more plumbing to protect. A 30 ft camper weight rig might stay above freezing longer than a 16 ft camper weight model in the same conditions, but it also has more potential failure points. Don’t let size give you false confidence, protect everything regardless of trailer dimensions.
De-Winterization: Preparing for Spring
When the snow melts and adventure calls again, you’ll need to reverse this process. Here’s the quick version:
- Flush the antifreeze: Using your fresh water tank, run fresh water through every faucet until it runs clear (no pink tint)
- Sanitize your system: Use a diluted bleach solution (1/4 cup bleach per 15 gallons of water) to sanitize your fresh tank and lines
- Flush again: Run fresh water through the entire system multiple times until there’s no bleach smell
- Check for leaks: Pressurize your system and inspect every connection for drips
- Restore the water heater: Close the bypass valves, fill the heater, and check the drain plug
Budget 1-2 hours for de-winterization, and do it at home before your first trip, you don’t want to discover a leak at a remote campsite.
Frequently Asked Questions About RV Water System Winterization
How much RV antifreeze do I actually need?
Most trailers require 2-3 gallons for a complete winterization. A 16 ft camper weight trailer with minimal plumbing might need just 2 gallons, while a 30 ft rv weight model with multiple bathrooms and an outdoor kitchen could require 4-5 gallons. Buy an extra gallon, it’s better to have too much than run out mid-process.
Can I leave water in the fresh tank if I add antifreeze?
No. Antifreeze doesn’t “treat” water, it replaces it. Any water left in your fresh tank will freeze and can crack the tank itself. Always drain completely before adding antifreeze.
Do I really need to bypass the water heater?
Yes, unless you enjoy wasting $60-80 worth of antifreeze filling a 6-10 gallon tank that doesn’t need it. The bypass valve is there for exactly this reason. Use it.
What if I live in a mild climate that rarely freezes?
Even in “mild” climates, unexpected cold snaps happen. If there’s any chance of freezing temps and you won’t be using your trailer, winterize. The cost is minimal, the process is quick, and the insurance is worth it. Think of the average weight of camper value you’re protecting.
How do I know if my winterization was successful?
After completing the process, you should see pink antifreeze at every faucet, in every drain, and in the toilet. If your trailer sits unused and temperatures drop below 20°F with no issues, you’ve done it right. Come spring, you’ll pressurize the system and check for leaks as your final confirmation.
Final Thoughts: Winter Protection Is Freedom Protection
Winterizing your travel trailer water system isn’t glamorous work, but it’s essential protection for your investment. Whether you’re storing a nimble 18 ft camper weight adventure rig or putting a 30 ft camper weight family hauler to bed for the winter, these steps ensure you’ll be ready to roll when spring arrives.
At BlackSeries, we build trailers that can handle anything you throw at them: but even the toughest off-road travel trailer needs protection from freezing water. A few hours of prep work now prevents expensive repairs later and ensures your rig is ready when adventure calls.
Need help with winterization or want to schedule a professional service? Check out your local BlackSeries dealer for winter prep packages, or download your specific model’s owner manual for detailed winterization procedures tailored to your trailer.
Now get that pink stuff flowing, seal up those systems, and rest easy knowing your rig is protected. Spring will be here before you know it, and you’ll be back on the trails while other folks are dealing with repair shops. That’s the BlackSeries difference.
Stay warm out there. 🏔️❄️

